AAA Birthday – Game #25 – Anything Birthday Goes

How can it be 2 years since the AAA Birthday challenge blog was first launched? I’m so grateful to have been given the chance to be on this design team with the wonderful Jane at our helm. We wouldn’t still be here two years on without the support of all of you…the amazing creative community who enter the challenges.

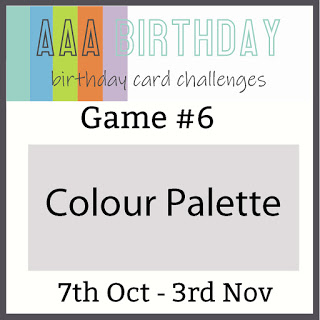
This months challenge is simply HAPPY BIRTHDAY and we would love to give you all the opportunity to win some crafty goodness. We have 9 amazing companies who have graciously sponsored this special month. See further down for all the details of how to win.

We also welcome Kuni as our guest designer for this special month.

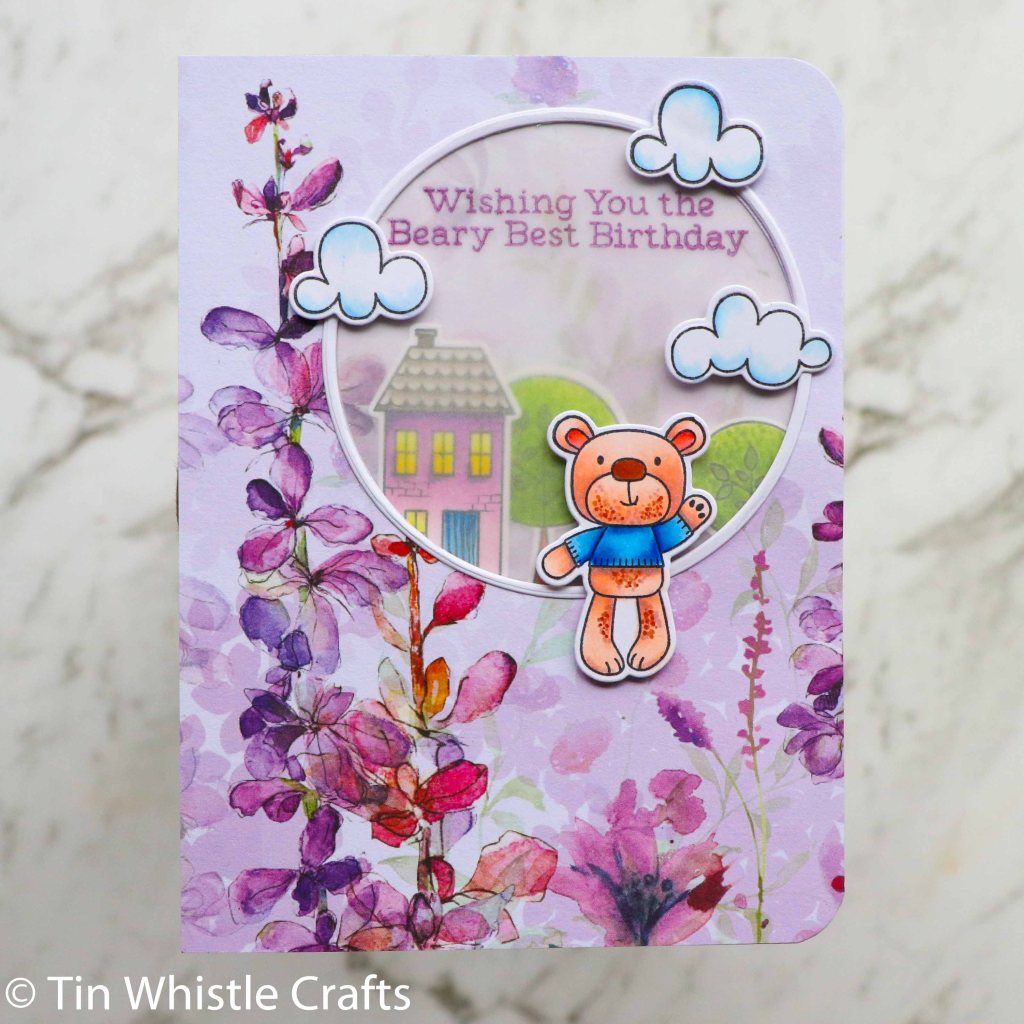
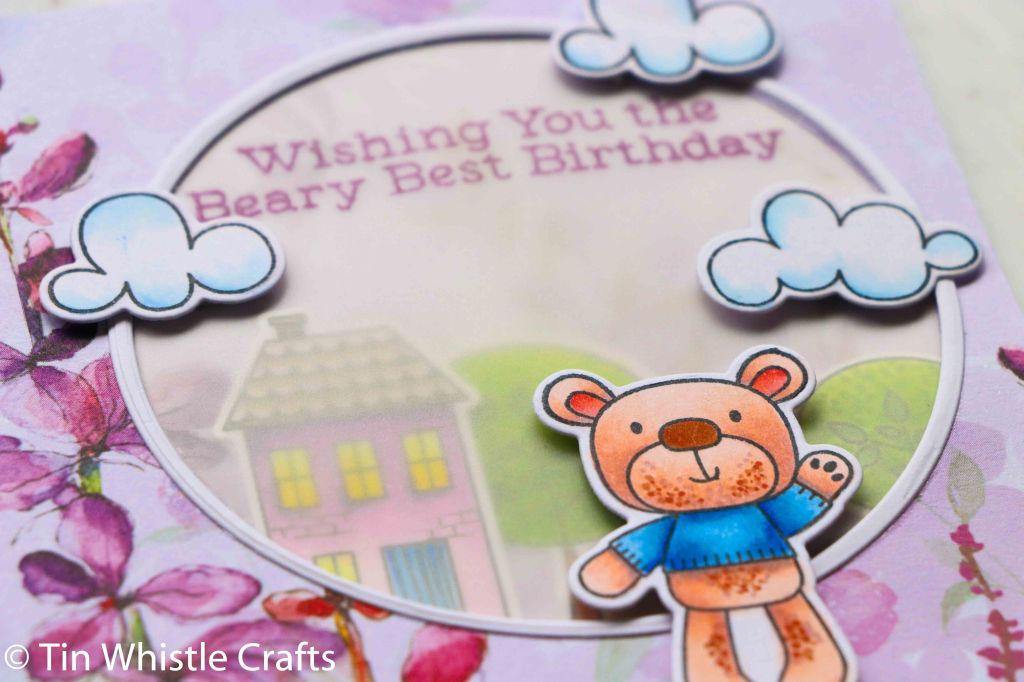
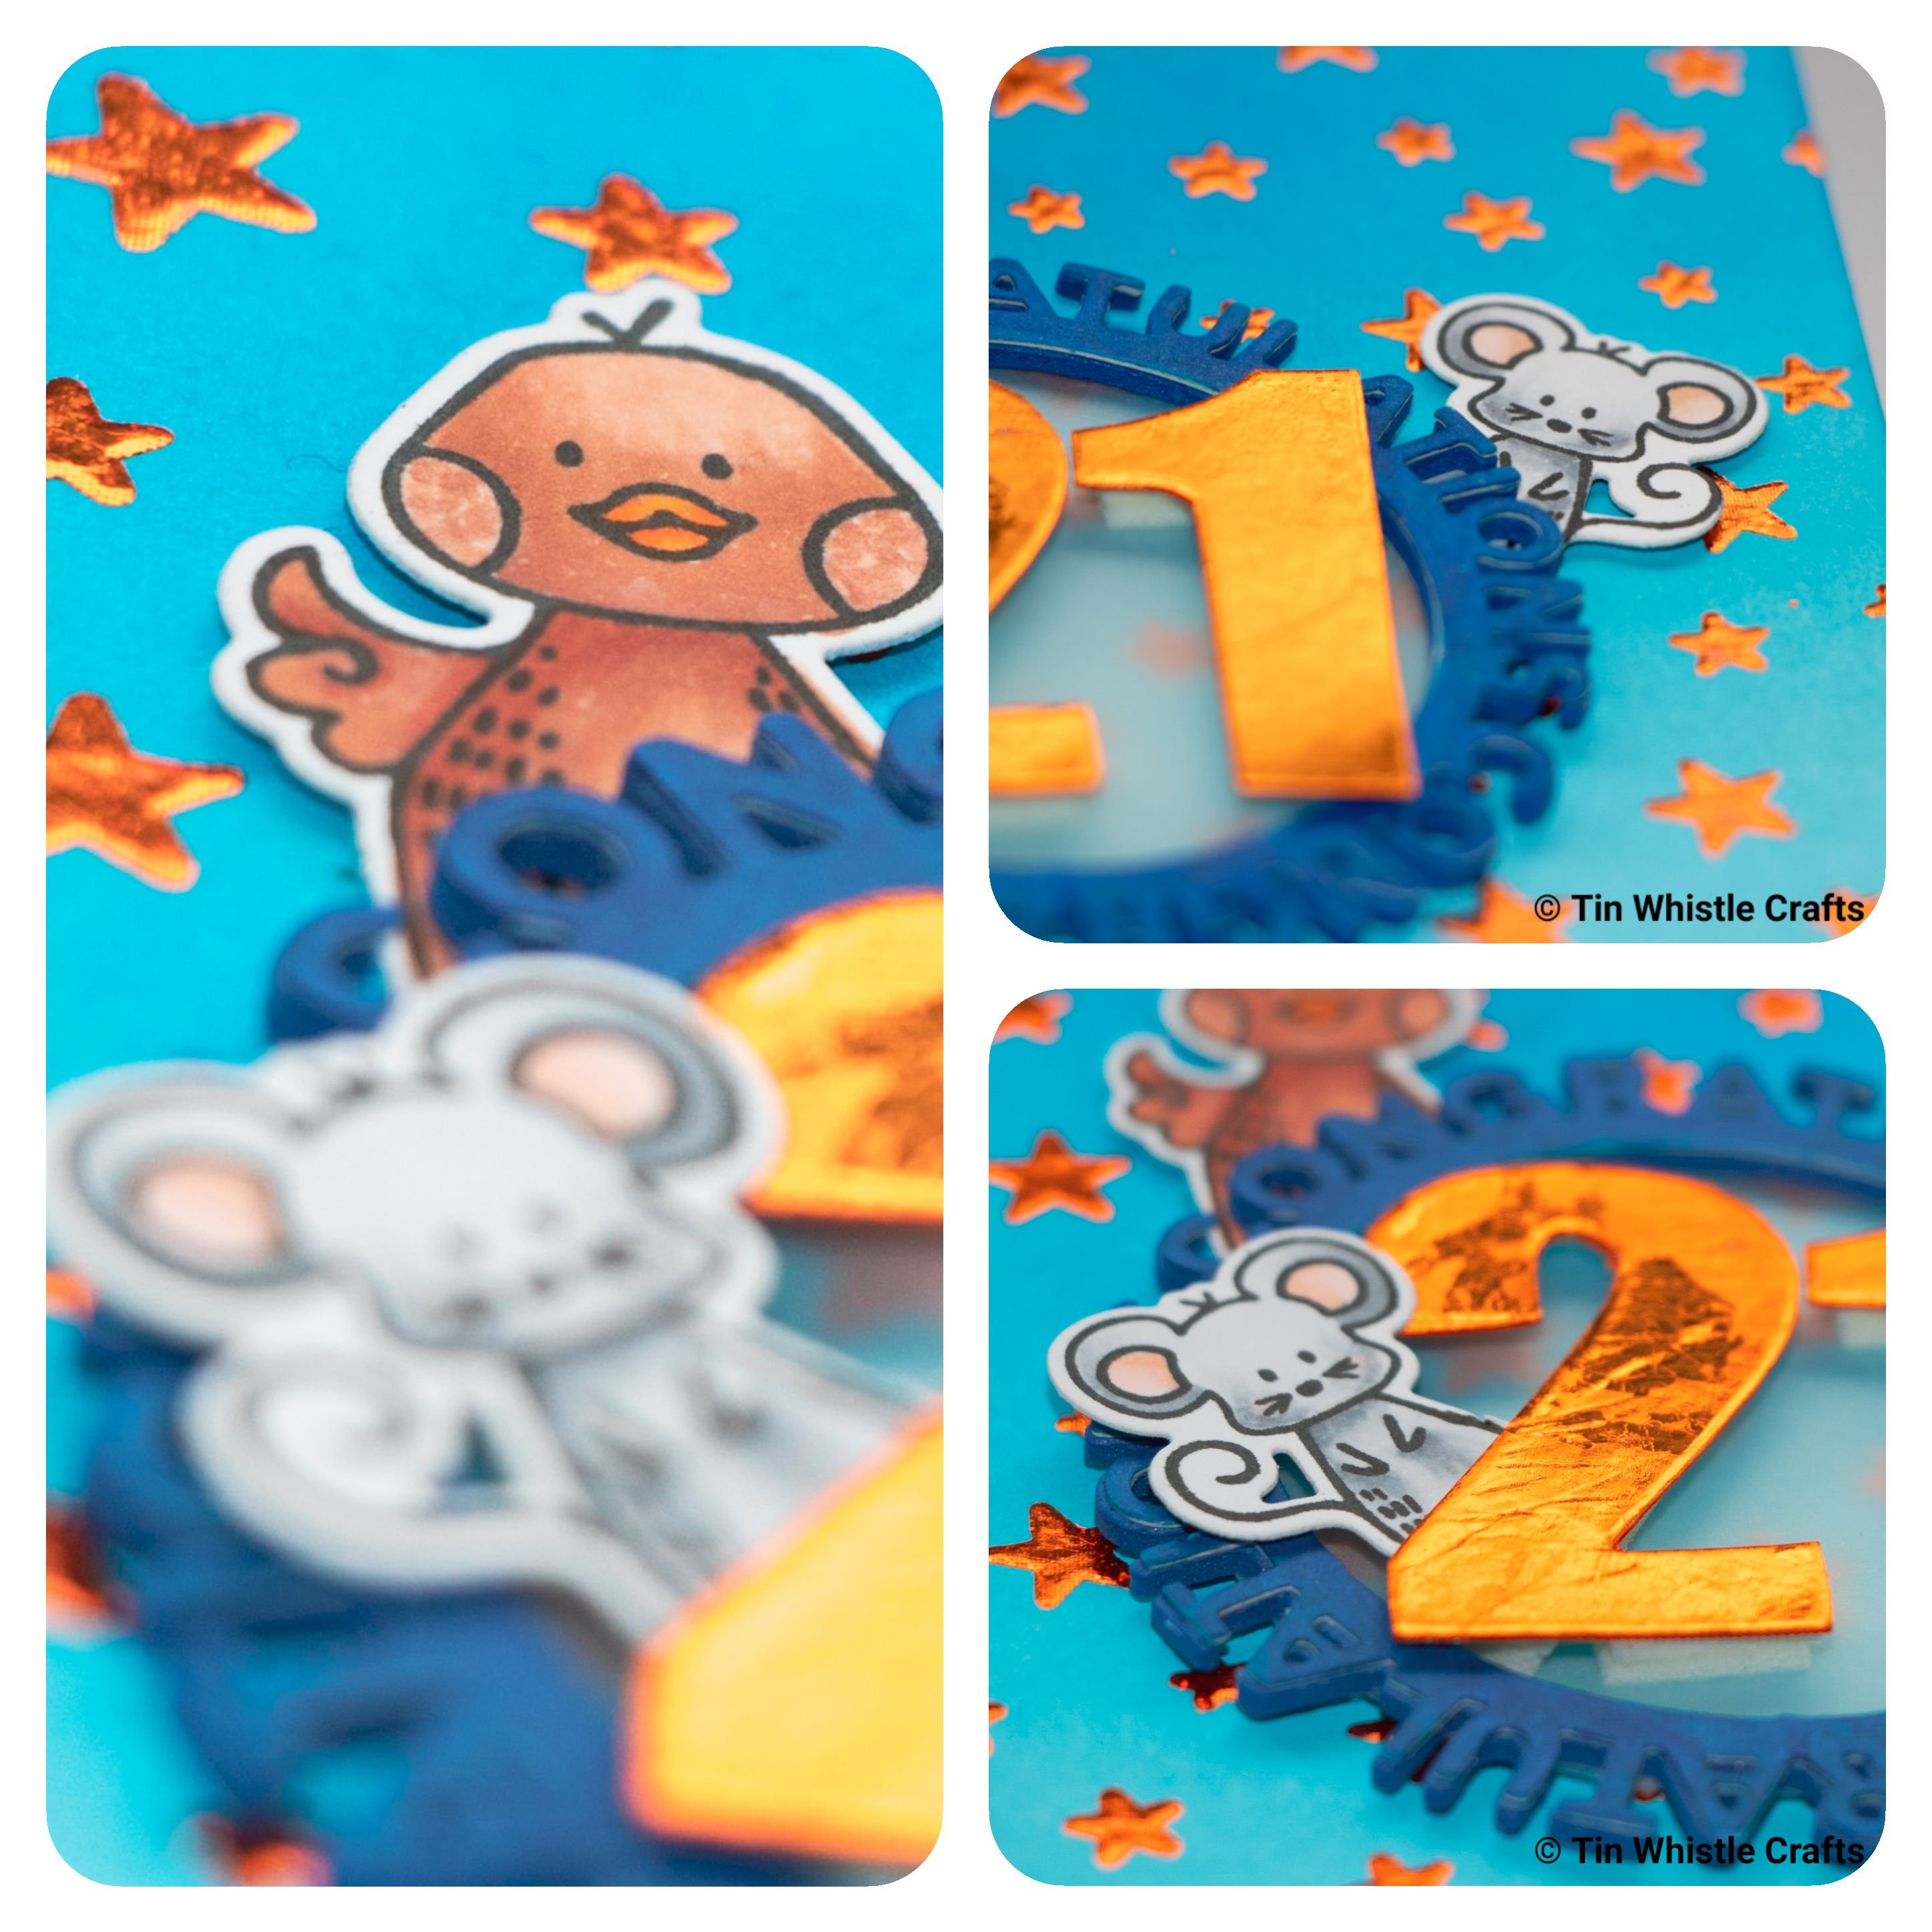
For my DT card I’ve used My Favourite Things stamps and dies.

Continue reading

A Pug with flowers

This is such a cute stamp set and I love the bright colours against the white of the card base. There is a new online craft supply shop that has opened recently – Loose Lemon Crafts – and they have such fabulous products to use in your crafting and embellishments I haven’t seen locally before. They are New Zealand based and only posting within NZ at this stage. I used their Neon Flowers Clay Sprinkles in this card.

Continue reading

Whee….we’re free

I made this card to enter into two challenges – Case this Sketch (I turned the sketch on its side) and Time Out Challenges. I love the Stacey Yacula stamp sets produced by My Favorite Things.

products used

  • Derwent Inktense Pencils (see colours below)
  • My Favorite Things Stacey Yacula Sky High
  • Altenew Circled Sentiments
  • Altenew Ink Razzleberry
  • Blue Cardstock
  • Distress Oxide Salty Ocean
  • Memory Box Stitched Rectangles
  • Heidi Swapp Washi Tape
  • Foil Washi Tape

Images

  • Stamp images on your preferred watercolour cardstock, colour using Derwent Inktense Pencils and cut out. I used my Brother Scan N Cut. Colours used as follows:
imageInktense colours
PlaneFelt Green
FoxWillow/Baked Earth
HedgehogBaked Earth
FlagFuschia
CloudsIndian Ink
BirdIris Blue/Baked Earth

Background

  • Cut rectangle out of blue cardstock with stitched die.
  • Sponge Distress Oxide Salty Ocean around edges.
  • Adhere to cardbase.

Sentiment

  • Stamp circle sentiment onto white cardstock with Altenew Razzleberry ink
  • Cut out with a circle die. I used a larger die so it had a border around it.

Finishing

  • Adhere all images using dimensional adhesive foam tape.
  • I added the dotted washi tape to white cardstock and cut into two strips. I wanted to add some extra green into scene so I added a strip of green foil tape to background first.

Thanks for stopping by and have a good day.

Handmade by Pip


MFT Birthday Project Challenge – Beary Best

I created this card for the current My Favorite Things Birthday Project Challenge. It’s not my usual style of card but I love the final feel of the card and hope it inspires you to try something a bit different.

I have a super pretty 12 x 12 pad of patterned paper from Crafters Choice (Pale Garden) which has some stunning floral images so I chose one and based the colour scheme of the images around that. I used the My Favorite Things Town Bear and Sweet Sloth stamps set. The stamp images were coloured with Copic markers and die cut with the matching dies.

To make the base I cut out the circle out of the patterned paper using a nesting die and using that die plus one slightly larger I made a skinny frame out of plain white cardstock. I adhered the frame to the patterned paper with glue.

I adhered the cut out circle directly onto the cardbase and arranged the background images on top. I then placed a larger circle of thin vellum over the images to mute the look of them, so the card doesn’t look too busy. I really wanted the little bear to stand out.

Using my ATG I taped the patterned paper to the cardbase and then popped up the cutey pie bear and the clouds using dimensional foam.

To finish off I used a corner rounder on two of the corners and that’s it done.

Thanks for stopping by and have a good day.

Handmade by Pip

AAA Birthday – Game #6 Colour Palette

Hi everyone, time for another challenge at AAA Birthday. This month it’s a colour palette theme. Come along to the AAA Birthday blog and see what the Design Team has created and a special welcome to Trina as this months Guest Designer.

I wasn’t sure where I was going initially with the colour scheme and you only have to include at least two of the colours but I ended up using all the of them.

Continue reading

21st Congrats

A new card created for a family member. I wanted to try a new technique for the background I had seen recently and it worked perfectly…foiling with gel medium.

Images

I used the Waffle Flower Little Painters images as they are designed to poke out from behind another image, plus they’re very cute.

  • Stamp your images on copic friendly cardstock with Momento Tuxedo Black or another copic friendly ink.
  • Colour with alcohol markers.
  • Cut out with matching dies, Brother Scanncut or fussy cut.

Background

  • Ink blend background with Distress Oxide Inks in Salty Ocean and Tumbled Glass and Mermaid Lagoon. Leave to dry.
  • Place stencil – My Favorite Things Star Celebration – onto card and tape down to crafting surface to stop stencil and card moving.
  • Using a palette knife spread Atelier Heavy Gel medium over stencil.
  • Remove stencil carefully and leave panel to dry.

Tip: The gel medium is dry when the gel becomes transparent and drying times will vary due to climate.

Foiling

  • Heat up laminator – Mine is the Heidi Swapp Mini Minc machine.
  • Place a sheet of foil over the dry panel. I used Gina K Design Heat Reactive Foil.
  • Place panel and foil in a carrier pouch – you can use a folded piece of copy paper if you don’t have the pouches.
  • Run through laminator. I set the heat at a 4. The heat will reactive the gel medium to make it sticky and the foil will adhere to it.

Extra items

Congratulations

  • Cut out My Favorite Things Congratulation circle die out of white cardstock and once out of blue fun foam. Using a blue marker that matches the blues in the card colour the die cuts.
  • Adhere the coloured die cut onto the foam one.
  • Cut out a piece of vellum with a circle die and adhere to the back of the stacked die cuts.

Foiling Numbers

  • Cut the numbers out of cardstock using Altenew Bold Numeral dies.
  • Use the negative portion like a stencil and place on top of another piece of cardstock.
  • Using a palette knife spread Atelier Heavy Gel medium over numbers then remove stencil.
  • Leave to dry, place foil over top and run through a laminator as you did for the background stars.
  • Fussy cut around the numbers or use the original dies to recut the foiled numbers.

Finishing

  • Adhere the critters when you want them positioned. The two back ones are adhered to the congratulations and the front one is adhered to the number.
  • Adhere the numbers with two layers of foam tape to give them dimension and make them slightly higher than the die cut words.
  • Finally adhere the central images to the background and adhere panel to side or top folded cardstock.

Thanks for stopping by and have a good day.

Handmade by Pip


Supplies List

Affiliate links are used when purchasing from Krafters Cart. Other links are direct to the company that sells that product.

Waffle Flower Little Painters
Shop at:
Krafters Cart NZ
MFT Star Celebration Stencil
Shop at:
SSS
Altenew Bold Numerals Die
Shop at:
Krafters Cart NZ
MFT Congratulations
MFT Congratulations
Shop at:
Krafters Cart NZ
Gina K Design Heat Reactive Foil
Shop at:
SSS
Distress Oxide Salty Ocean
Shop at:
Krafters Cart NZ
Distress Oxide Mermaid Lagoon
Shop at:
Krafters Cart NZ
Distress Oxide Tumbled Glass
Shop at:
Krafters Cart NZ
Tools Mini Misti
Tools Mini Misti
Shop at:
Krafters Cart NZ
Momento Tuxedo Black
Shop at:
Krafters Cart NZ