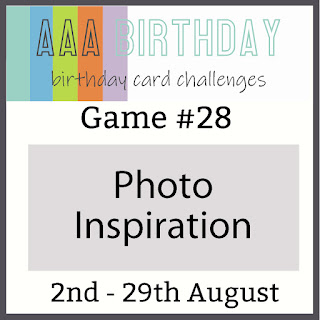
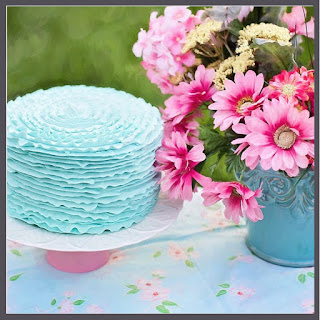
We have a beautiful photo to inspire you this month and we welcome Rachelle Oltean who is our guest designer for August.
We also have a special sponsor for August – Varada Sharma Digitals – and I’ve used her “A Corner in My Garden” slimline digi on my card. The winner of the August challenge will receive a $10 voucher to spend on Varada’s digi’s.

This is also my last card as a design team member and I’ve loved the two years I’ve had on the team. Such a great bunch of ladies.

PRODUCTS
- Varada Sharma Designs A Corner in My Garden slimline digital stamp
- Uniquely Creative
- Arty Stripes stencil
- Bunting Sentiments stamp
- Copic Markers
- Vellum
- Zing Green and Blue metallic embossing powder
- Ranger Gold embossing powder
process
background
I wanted to incorporate the look of the ruffles into my background so I used a striped stencil and ink blended with Distress Oxide Tumbled Glass and Salty Ocean onto the card base.

Flower cluster
So I probably made this part more complicated than what it needed to be but I had to change a bit as I was creating. I knew I wanted to use vellum that I coloured on the backside with copics.
I printed out the digi stamp on my laser jet, once onto cardstock and twice onto vellum. My trusty Brother Scan n Cut came to my rescue for the fussy cutting as I simply scanned the image and got the machine to cut the vellum images out. I also used my scan n cut to cut out the correct size slimline card layer.
I worked out how I wanted to layer the flower cluster and coloured them appropriately.
- Leaves adhered directly to cardstock – Snipped off the leaves leaving the two flowers joined
- Yellow flower – one layer popped up
- Pink flower – two layers
- bottom layer is coloured with pink copics
- top layer I just coloured the central part in the darker pink
Once the flowers were coloured I heat embossed the centres of the flowers.
I adhered all the vellum pieces using small dots of glossy accents. I didn’t want the individual pieces to be glued completely to the base. The flowers were just adhered at the centres using glue dots.


SENTIMENT
Before I adhered the cut out slimline shape to the card base I stamped and heat embossed the Happy Birthday onto the card base in blue.
finishing
I also ink blended lightly around the edges of the white background of the flower cluster layer with Salty Ocean. In the photo inspiration there is a tablecloth with flowers so I added small dots to represent this on the background…and with that I was done.
I love how this card turned out and I hope you’ve been inspired to join us in this months challenge.
Thanks for stopping by and have a good day.