AAA Birthday – Game #28 – Photo Inspiration

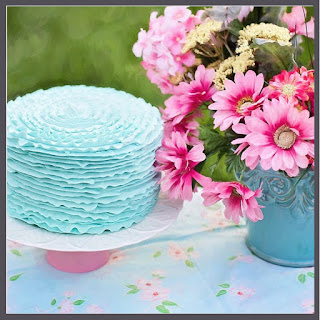
We have a beautiful photo to inspire you this month and we welcome Rachelle Oltean who is our guest designer for August.

We also have a special sponsor for August – Varada Sharma Digitals – and I’ve used her “A Corner in My Garden” slimline digi on my card. The winner of the August challenge will receive a $10 voucher to spend on Varada’s digi’s.

This is also my last card as a design team member and I’ve loved the two years I’ve had on the team. Such a great bunch of ladies.

PRODUCTS

  • Varada Sharma Designs A Corner in My Garden slimline digital stamp
  • Uniquely Creative
    • Arty Stripes stencil
    • Bunting Sentiments stamp
  • Copic Markers
  • Vellum
  • Zing Green and Blue metallic embossing powder
  • Ranger Gold embossing powder

process

background

I wanted to incorporate the look of the ruffles into my background so I used a striped stencil and ink blended with Distress Oxide Tumbled Glass and Salty Ocean onto the card base.

Flower cluster

So I probably made this part more complicated than what it needed to be but I had to change a bit as I was creating. I knew I wanted to use vellum that I coloured on the backside with copics.

I printed out the digi stamp on my laser jet, once onto cardstock and twice onto vellum. My trusty Brother Scan n Cut came to my rescue for the fussy cutting as I simply scanned the image and got the machine to cut the vellum images out. I also used my scan n cut to cut out the correct size slimline card layer.

I worked out how I wanted to layer the flower cluster and coloured them appropriately.

  1. Leaves adhered directly to cardstock – Snipped off the leaves leaving the two flowers joined
  2. Yellow flower – one layer popped up
  3. Pink flower – two layers
    • bottom layer is coloured with pink copics
    • top layer I just coloured the central part in the darker pink

Once the flowers were coloured I heat embossed the centres of the flowers.

I adhered all the vellum pieces using small dots of glossy accents. I didn’t want the individual pieces to be glued completely to the base. The flowers were just adhered at the centres using glue dots.

SENTIMENT

Before I adhered the cut out slimline shape to the card base I stamped and heat embossed the Happy Birthday onto the card base in blue.

finishing

I also ink blended lightly around the edges of the white background of the flower cluster layer with Salty Ocean. In the photo inspiration there is a tablecloth with flowers so I added small dots to represent this on the background…and with that I was done.

I love how this card turned out and I hope you’ve been inspired to join us in this months challenge.

Thanks for stopping by and have a good day.

Handmade by Pip

AAA Birthday – Game #27 – Use an Embossing folder

The much forgotten about embossing folder is our theme this month and we’d love to see what you come up with. Welcome to Debbie Mageed who was the winner of our #23 Patterned Paper Challenge and guest designs for us this month.


PRODUCTS

  • Park Lane Paw Prints embossing folder
  • Poppy Stamps Kitty Paw Prints die
  • Technique Tuesday Kyle the Cool Cat stamp set
  • Lawn Fawn Speech Bubbles die
  • My Favourite Things Denim background stamp

process

background

I used the direct inking of the embossing folder technique to make the background and after trying out many types of inks I decided that I liked the pigment inks best. I pulled out my Delicata Rose Gold metallic Ink pad and inked the folder then ran it through my Big Shot. The ink transfers to the cardstock. Depending which side of the folder you ink determines whether you get the embossed or debossed look. I ended up inking twice to get good coverage.

Paw prints

I ink blended cardstock with Distress Oxide faded jeans and then stamped over this with Hero Arts Unicorn white ink and the Denim background stamp. It gives a very subtle texture. Then I die cut the paw prints out of the blue cardstock.

SENTIMENT

The sentiment was my inspiration for this card. I love the pun. I stamped it onto a slightly shimmery vellum and heat set white embossing powder over that. I was going to just add the sentiment as a strip but decided to use a speech bubble die to give a bit of extra interest.

finishing

I cut down the paw print because the size of the embossing folder is smaller than my usual card base. I mulled over a few ideas for the edges of the card base but decided to stamp this with the same background stamp as the die cut paw prints and a matching ink to the Rose Gold – I ended up using Distress Oxide Tattered Rose.

The embossed background was popped up with craft foam and I used different thicknesses of foam tape to adhere the paws and the sentiment to give dimension to the card.

Note: To tie in the elements on your card try repeating some things – same stamp, same colours.

I love how this card turned out and I hope you’ve been inspired to join us in this months challenge.

Thanks for stopping by and have a good day.

Handmade by Pip

AAA Birthday – Game #26 – Flowers

This month we would like you to use flowers. It’s coming into winter where I live but there are still a few flowers around to enjoy. We also welcome Nancy as our guest designer for this month. We’d love for you to pop over to her blog and leave her some love.


PRODUCTS

  • Pinkfresh Studio
    • You Are My Favourite layering stencils
    • Heather lowercase alphabet dies
  • Ranger Letterit Birthday stamps
  • Distress Oxide Inks – Spun Sugar, Picked Raspberry, Twisted Citron, Mowed Lawn
  • Versafine Clair Green Oasis
  • Diamantes

process

background

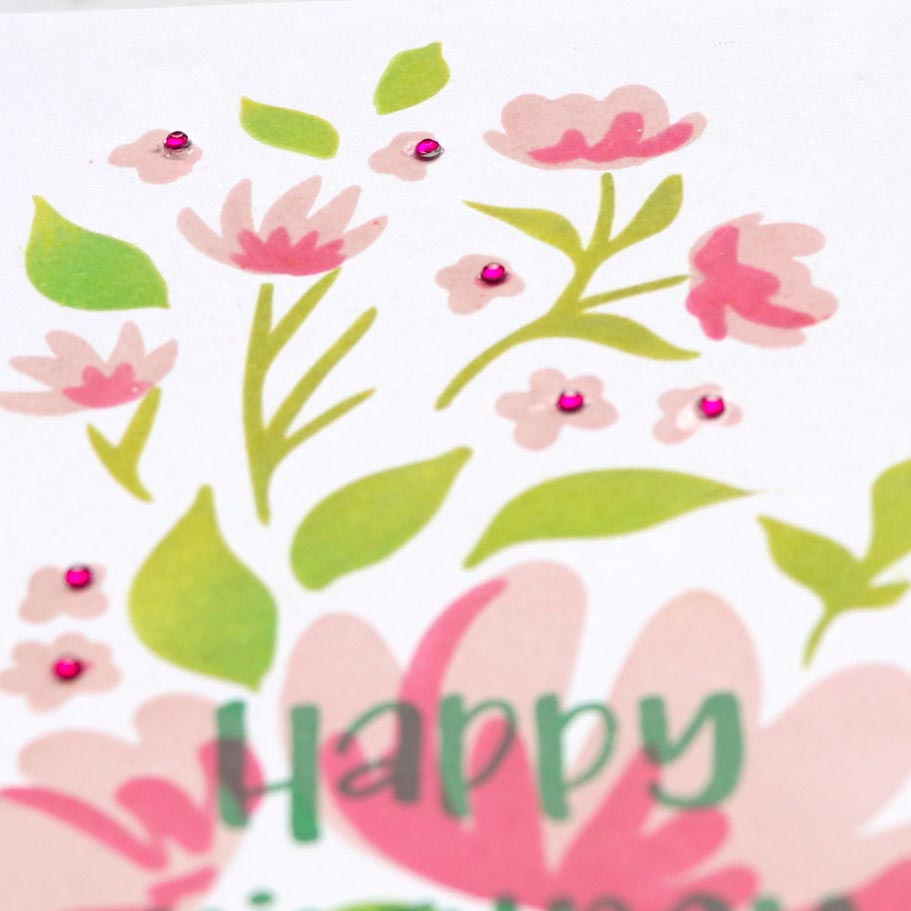
It’s so easy to use the Pinkfresh Studio “You are my Favourite” layering stencils (there is also a matching stamp set). You can get a few different looks by using other mediums…texture pastes, foil, embossing powders…but I stuck with a simple distress oxide ink blending and keeping the colours simple too.

SENTIMENT

I blended the Picked Raspberry and Mowed Lawn inks over white cardstock and die cut the word ‘You’ once in each colour so I could have the outline and inside different colours.

I applied adhesive to the back of the die cuts with my Xyron Sticker Maker and adhered to the background.

The rest of the sentiment was stamped in Versafine Clair pigment ink.

finishing

I cut down the background so I could have a 1/4″ edge around and I toyed with the idea of popping up the background with craft foam onto a coloured card base but in the end decided to keep it all white. You can still add dimension with white by just adding layers.

I added a few deep pink diamantés to the centres of the little flowers to give an extra textural element.

I hope you’ve been inspired to join us in this months challenge.

Thanks for stopping by and have a good day.

Handmade by Pip

AAA Birthday – Game #25 – Anything Birthday Goes

How can it be 2 years since the AAA Birthday challenge blog was first launched? I’m so grateful to have been given the chance to be on this design team with the wonderful Jane at our helm. We wouldn’t still be here two years on without the support of all of you…the amazing creative community who enter the challenges.

This months challenge is simply HAPPY BIRTHDAY and we would love to give you all the opportunity to win some crafty goodness. We have 9 amazing companies who have graciously sponsored this special month. See further down for all the details of how to win.

We also welcome Kuni as our guest designer for this special month.

For my DT card I’ve used My Favourite Things stamps and dies.

Continue reading

AAA Birthday – Game #23 – Patterned Paper

How did February fly past so quickly! It time for our March challenge – get out your patterned paper and play.

Congratulations to our guest designer for March – Colien. Pop over to the AAA Birthday blog to see what Colien has designed for her guest spot and be inspired by the rest of the Design Team cards.

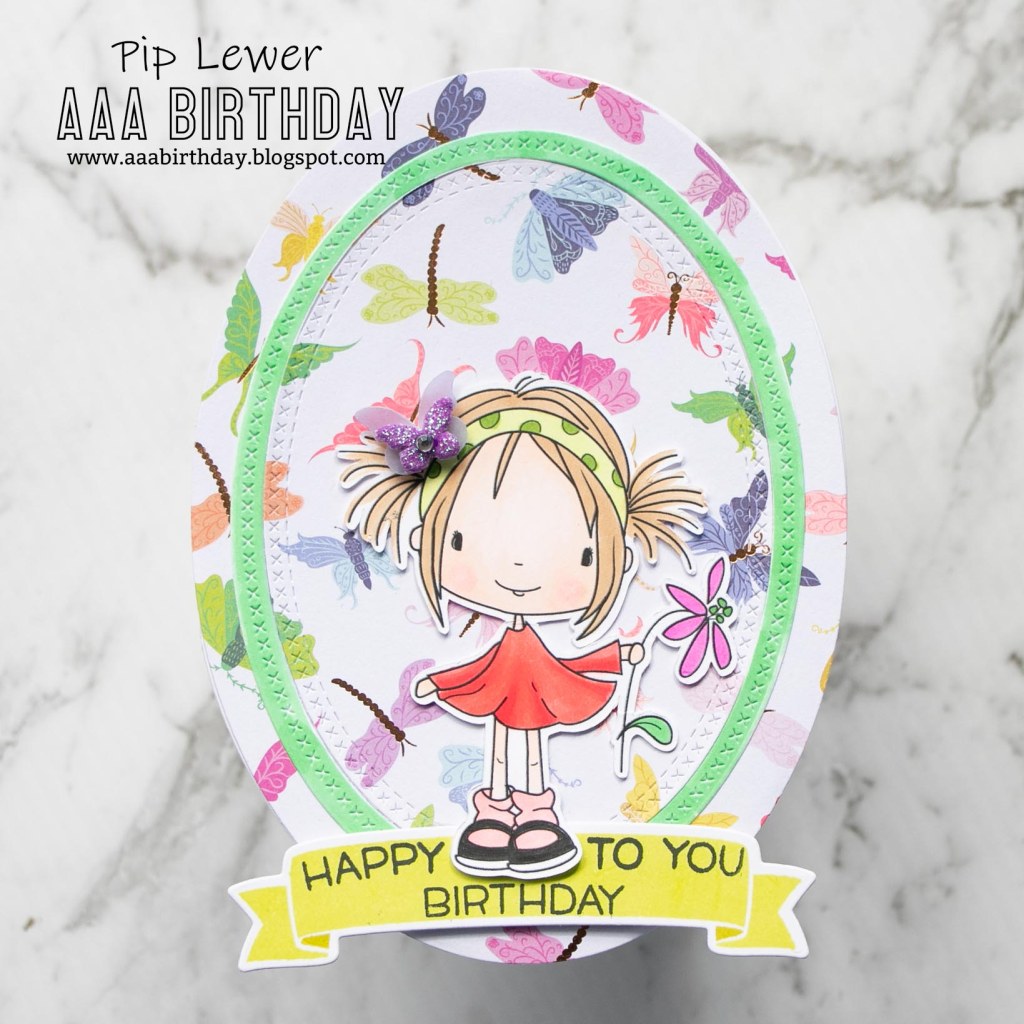
I’ve had a 12 x 12 sheet of double sided patterned paper that I’ve had in my stash for a while that is so pretty…of course that makes it hard to actually use. I had coloured the image earlier in the year and it was the perfect complement to the paper.

Continue reading

AAA Birthday – Game #22 – A Large Sentiment

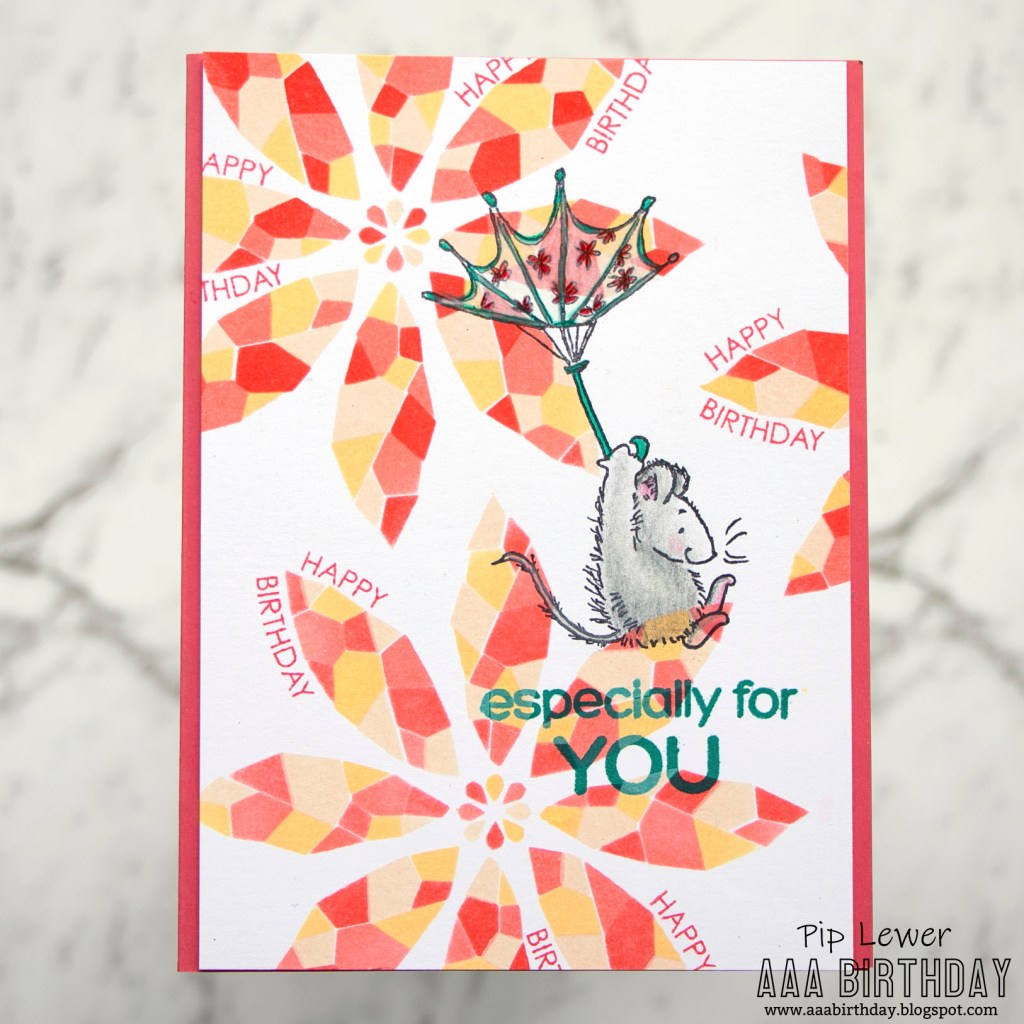
Well it’s February already and time for shouting out Happy Birthday in a large format.

Congratulations to our guest designer this month – Helen. Pop over to the AAA Birthday blog to see what Helen has designed for her guest spot for this months challenge and be inspired by the rest of the Design Team cards.

One of my favourite stamp companies is Avery Elle and I recently purchased this yummy “Cake for All Seasons” stamp and die set.

Continue reading

AAA Birthday – Game #21 – A Stencil Background

Welcome to a new year…2021…and a new round of monthly challenges.

Congratulations to our guest designer this month – Melanie. Pop over to the AAA Birthday blog to see what Melanie has designed for her guest spot for this months challenge and be inspired by the rest of the Design Team cards. We also welcome our new design team members, Bhavya, Maaike, Nonni & Valerie. So exciting to have you join us.

First up we would like you to stencil a background. There are so many different ways to use a stencil; dry emboss, texture paste, ink, paints, glitters, embossing ink and powders – the list goes on and on… I’ve used a very cool turnabout stencil by Concord and 9th and I love how it turned out.

Continue reading

AAA Birthday – Game #20 – Twinkle

Welcome to the last challenge of 2020…we’ve all faced different challenges this year so I hope this theme gives you a chance to have a play with glitter, stars or anything that puts a TWINKLE in your eye.

Congratulations to our September Animals and Critters challenge winner Claire. Pop over to the AAA Birthday blog to see what Claire has designed for her guest spot for this months challenge and be inspired by the rest of the Design Team cards.

To end this year on a high this challenge will be sponsored by Joy Clair.  They are offering two $15 credits to be spent on digital products.

Continue reading