

Welcome to a new year…2021…and a new round of monthly challenges.
Congratulations to our guest designer this month – Melanie. Pop over to the AAA Birthday blog to see what Melanie has designed for her guest spot for this months challenge and be inspired by the rest of the Design Team cards. We also welcome our new design team members, Bhavya, Maaike, Nonni & Valerie. So exciting to have you join us.
First up we would like you to stencil a background. There are so many different ways to use a stencil; dry emboss, texture paste, ink, paints, glitters, embossing ink and powders – the list goes on and on… I’ve used a very cool turnabout stencil by Concord and 9th and I love how it turned out.


PRODUCTS
- Concord & 9th Faceted Turnabout stencils
- Penny Black Happy Times stamp set
- Uniquely Creative Sweet Sentiment Builder stamp set
- Distress Oxide Inks
- Prismacolor pencils
Process
Stencil
- The turnabout stencil gives you the option to easily use multiple colours so the options are endless. There are two stencils in this set but I just used the floral part of one stencil and inked it three times over the cardstock.
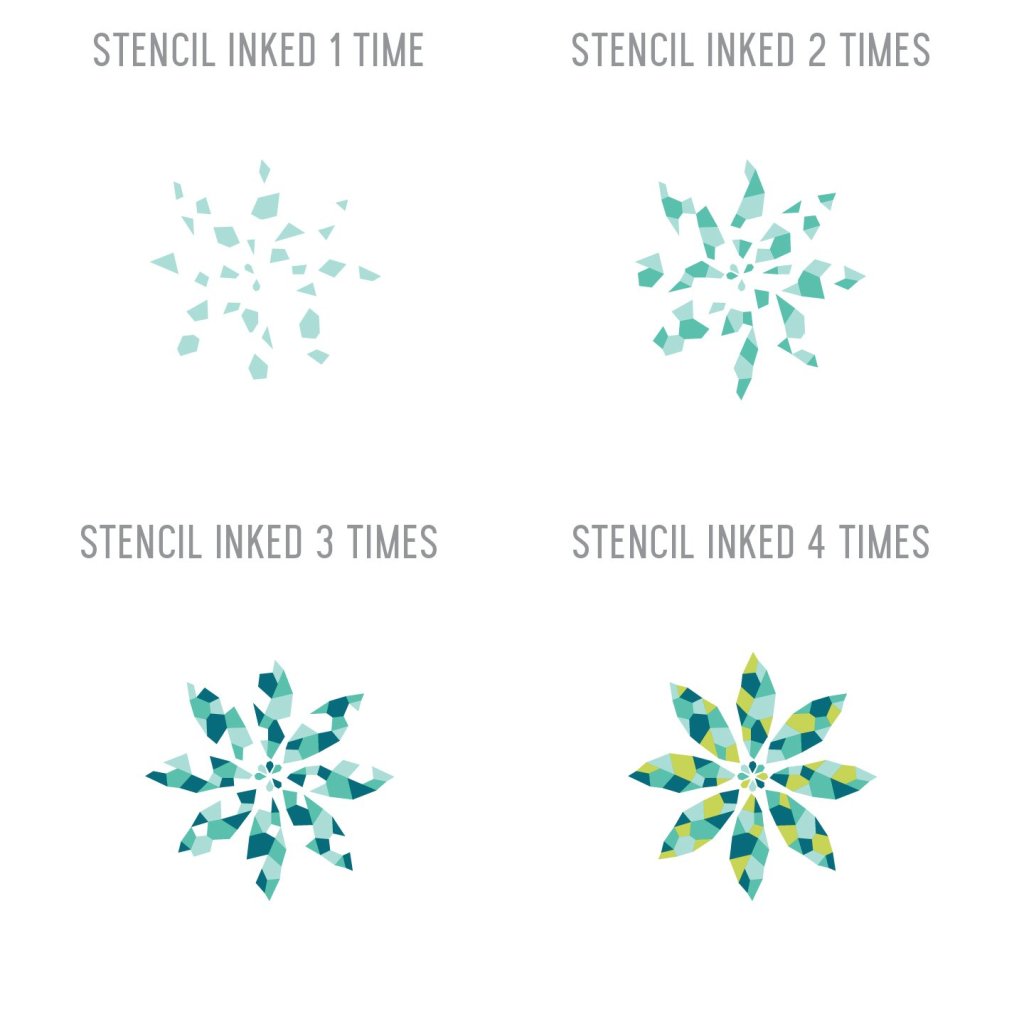
- There are instructions included with the stencil but also the Concord and 9th website has instructions on how to use without a stamping tool…plus a tips and tricks video.
image
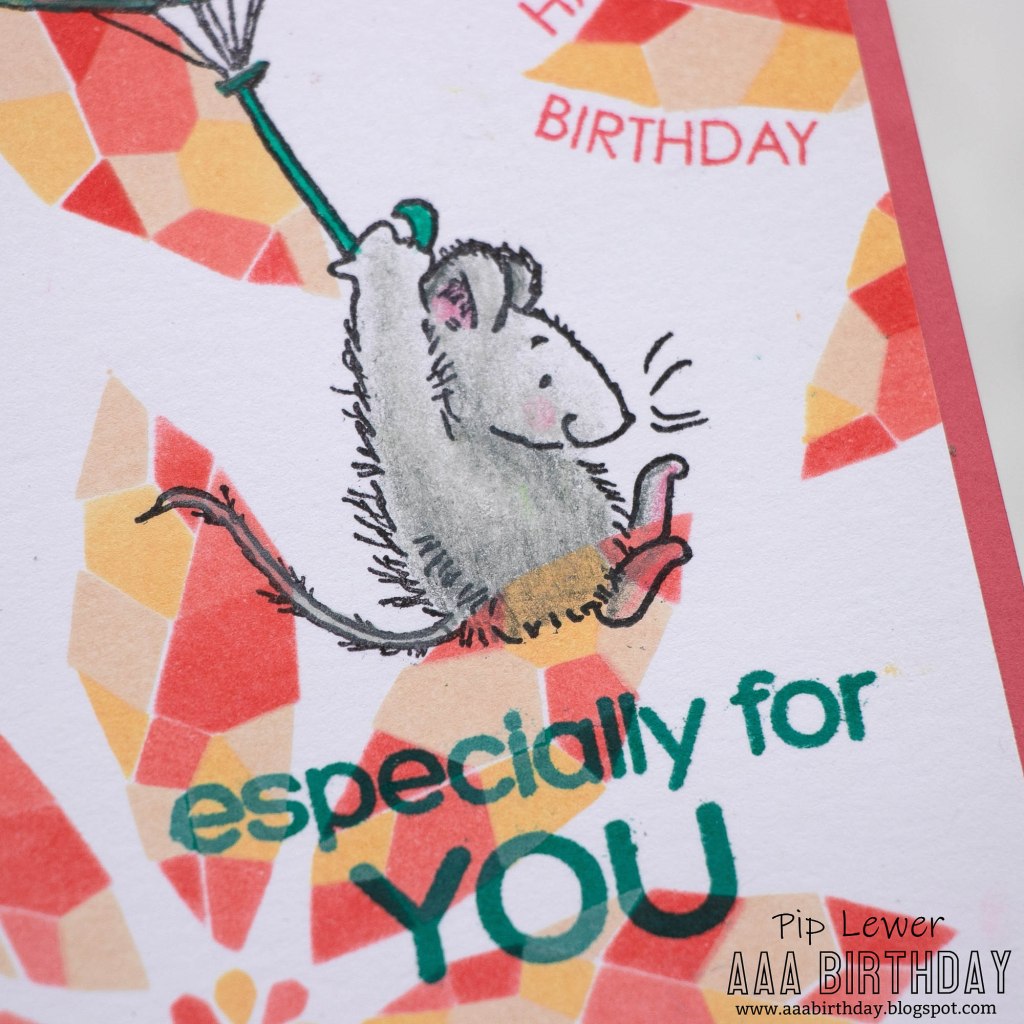
- I decided to make this card one layer so I was inspired to use a technique that Therese from @lostinpaper uses. I simply stamped onto the background and used coloured pencils as my colouring medium. Just bear in mind that depending on how dark your background is you may need to do a first layer in white pencil to dull the background but I didn’t feel the need to do this as I had enough white in my background to help the image stand out.

Sentiment
- The main sentiment was simply stamped in distress oxide ink to match the blue-green from the umbrella. I also decided to add some small happy birthday sentiments to the background and found the perfect size in the Uniquely Creative stamp set. These I randomly stamped and I hope you agree it adds just the right finishing touch.
I hope you’ve been inspired to join us in this months challenge.
Thanks for stopping by and have a good day.

I couldn’t work out how you’d made this either Pip until I read your post. Whatever will they dream up next! It’s very clever Pip and makes a dynamic background for your cute mouse! Vicky x
LikeLiked by 2 people
Thbaks Vicky. Glad you liked it.
LikeLiked by 1 person
Super cute… love it..💖💖…
LikeLiked by 1 person
That’s a fabulous stencil, perfect with the little mouse
LikeLiked by 1 person
What a gorgeous card Pip – love the steciled background, and that wee image is so sweet 🙂
Stay safe
Blessings
Maxine
LikeLiked by 1 person
That is such a cool stencil. I’ve been wondering how you achieved that look. Totally awesome Pip.
LikeLiked by 1 person