A new card created for a family member. I wanted to try a new technique for the background I had seen recently and it worked perfectly…foiling with gel medium.

Images
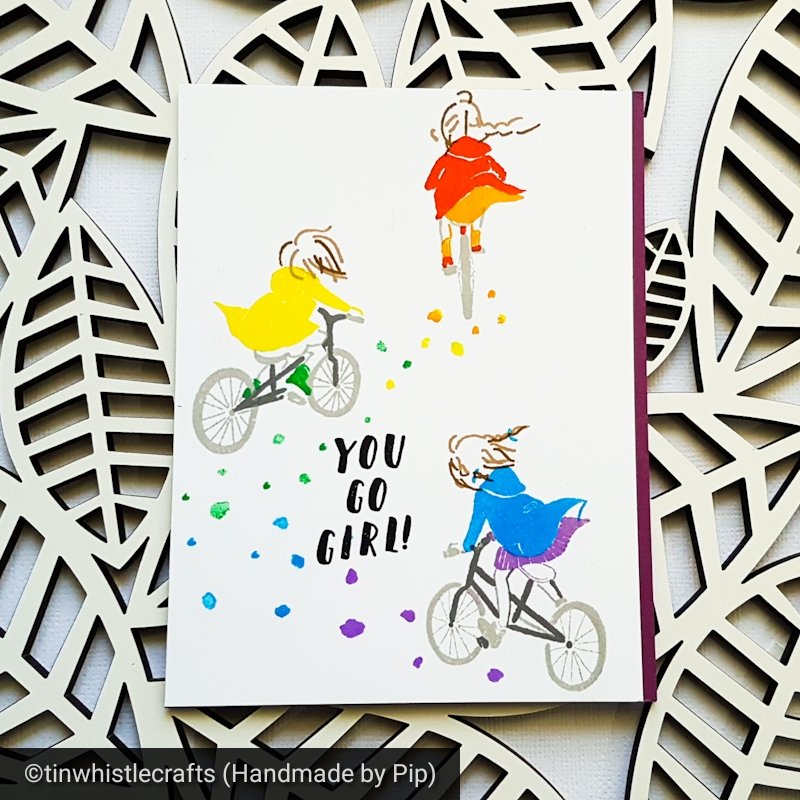
I used the Waffle Flower Little Painters images as they are designed to poke out from behind another image, plus they’re very cute.
- Stamp your images on copic friendly cardstock with Momento Tuxedo Black or another copic friendly ink.
- Colour with alcohol markers.
- Cut out with matching dies, Brother Scanncut or fussy cut.
Background

- Ink blend background with Distress Oxide Inks in Salty Ocean and Tumbled Glass and Mermaid Lagoon. Leave to dry.
- Place stencil – My Favorite Things Star Celebration – onto card and tape down to crafting surface to stop stencil and card moving.
- Using a palette knife spread Atelier Heavy Gel medium over stencil.
- Remove stencil carefully and leave panel to dry.
Tip: The gel medium is dry when the gel becomes transparent and drying times will vary due to climate.
Foiling
- Heat up laminator – Mine is the Heidi Swapp Mini Minc machine.
- Place a sheet of foil over the dry panel. I used Gina K Design Heat Reactive Foil.
- Place panel and foil in a carrier pouch – you can use a folded piece of copy paper if you don’t have the pouches.
- Run through laminator. I set the heat at a 4. The heat will reactive the gel medium to make it sticky and the foil will adhere to it.

Extra items
Congratulations
- Cut out My Favorite Things Congratulation circle die out of white cardstock and once out of blue fun foam. Using a blue marker that matches the blues in the card colour the die cuts.
- Adhere the coloured die cut onto the foam one.
- Cut out a piece of vellum with a circle die and adhere to the back of the stacked die cuts.
Foiling Numbers
- Cut the numbers out of cardstock using Altenew Bold Numeral dies.
- Use the negative portion like a stencil and place on top of another piece of cardstock.
- Using a palette knife spread Atelier Heavy Gel medium over numbers then remove stencil.
- Leave to dry, place foil over top and run through a laminator as you did for the background stars.
- Fussy cut around the numbers or use the original dies to recut the foiled numbers.
Finishing
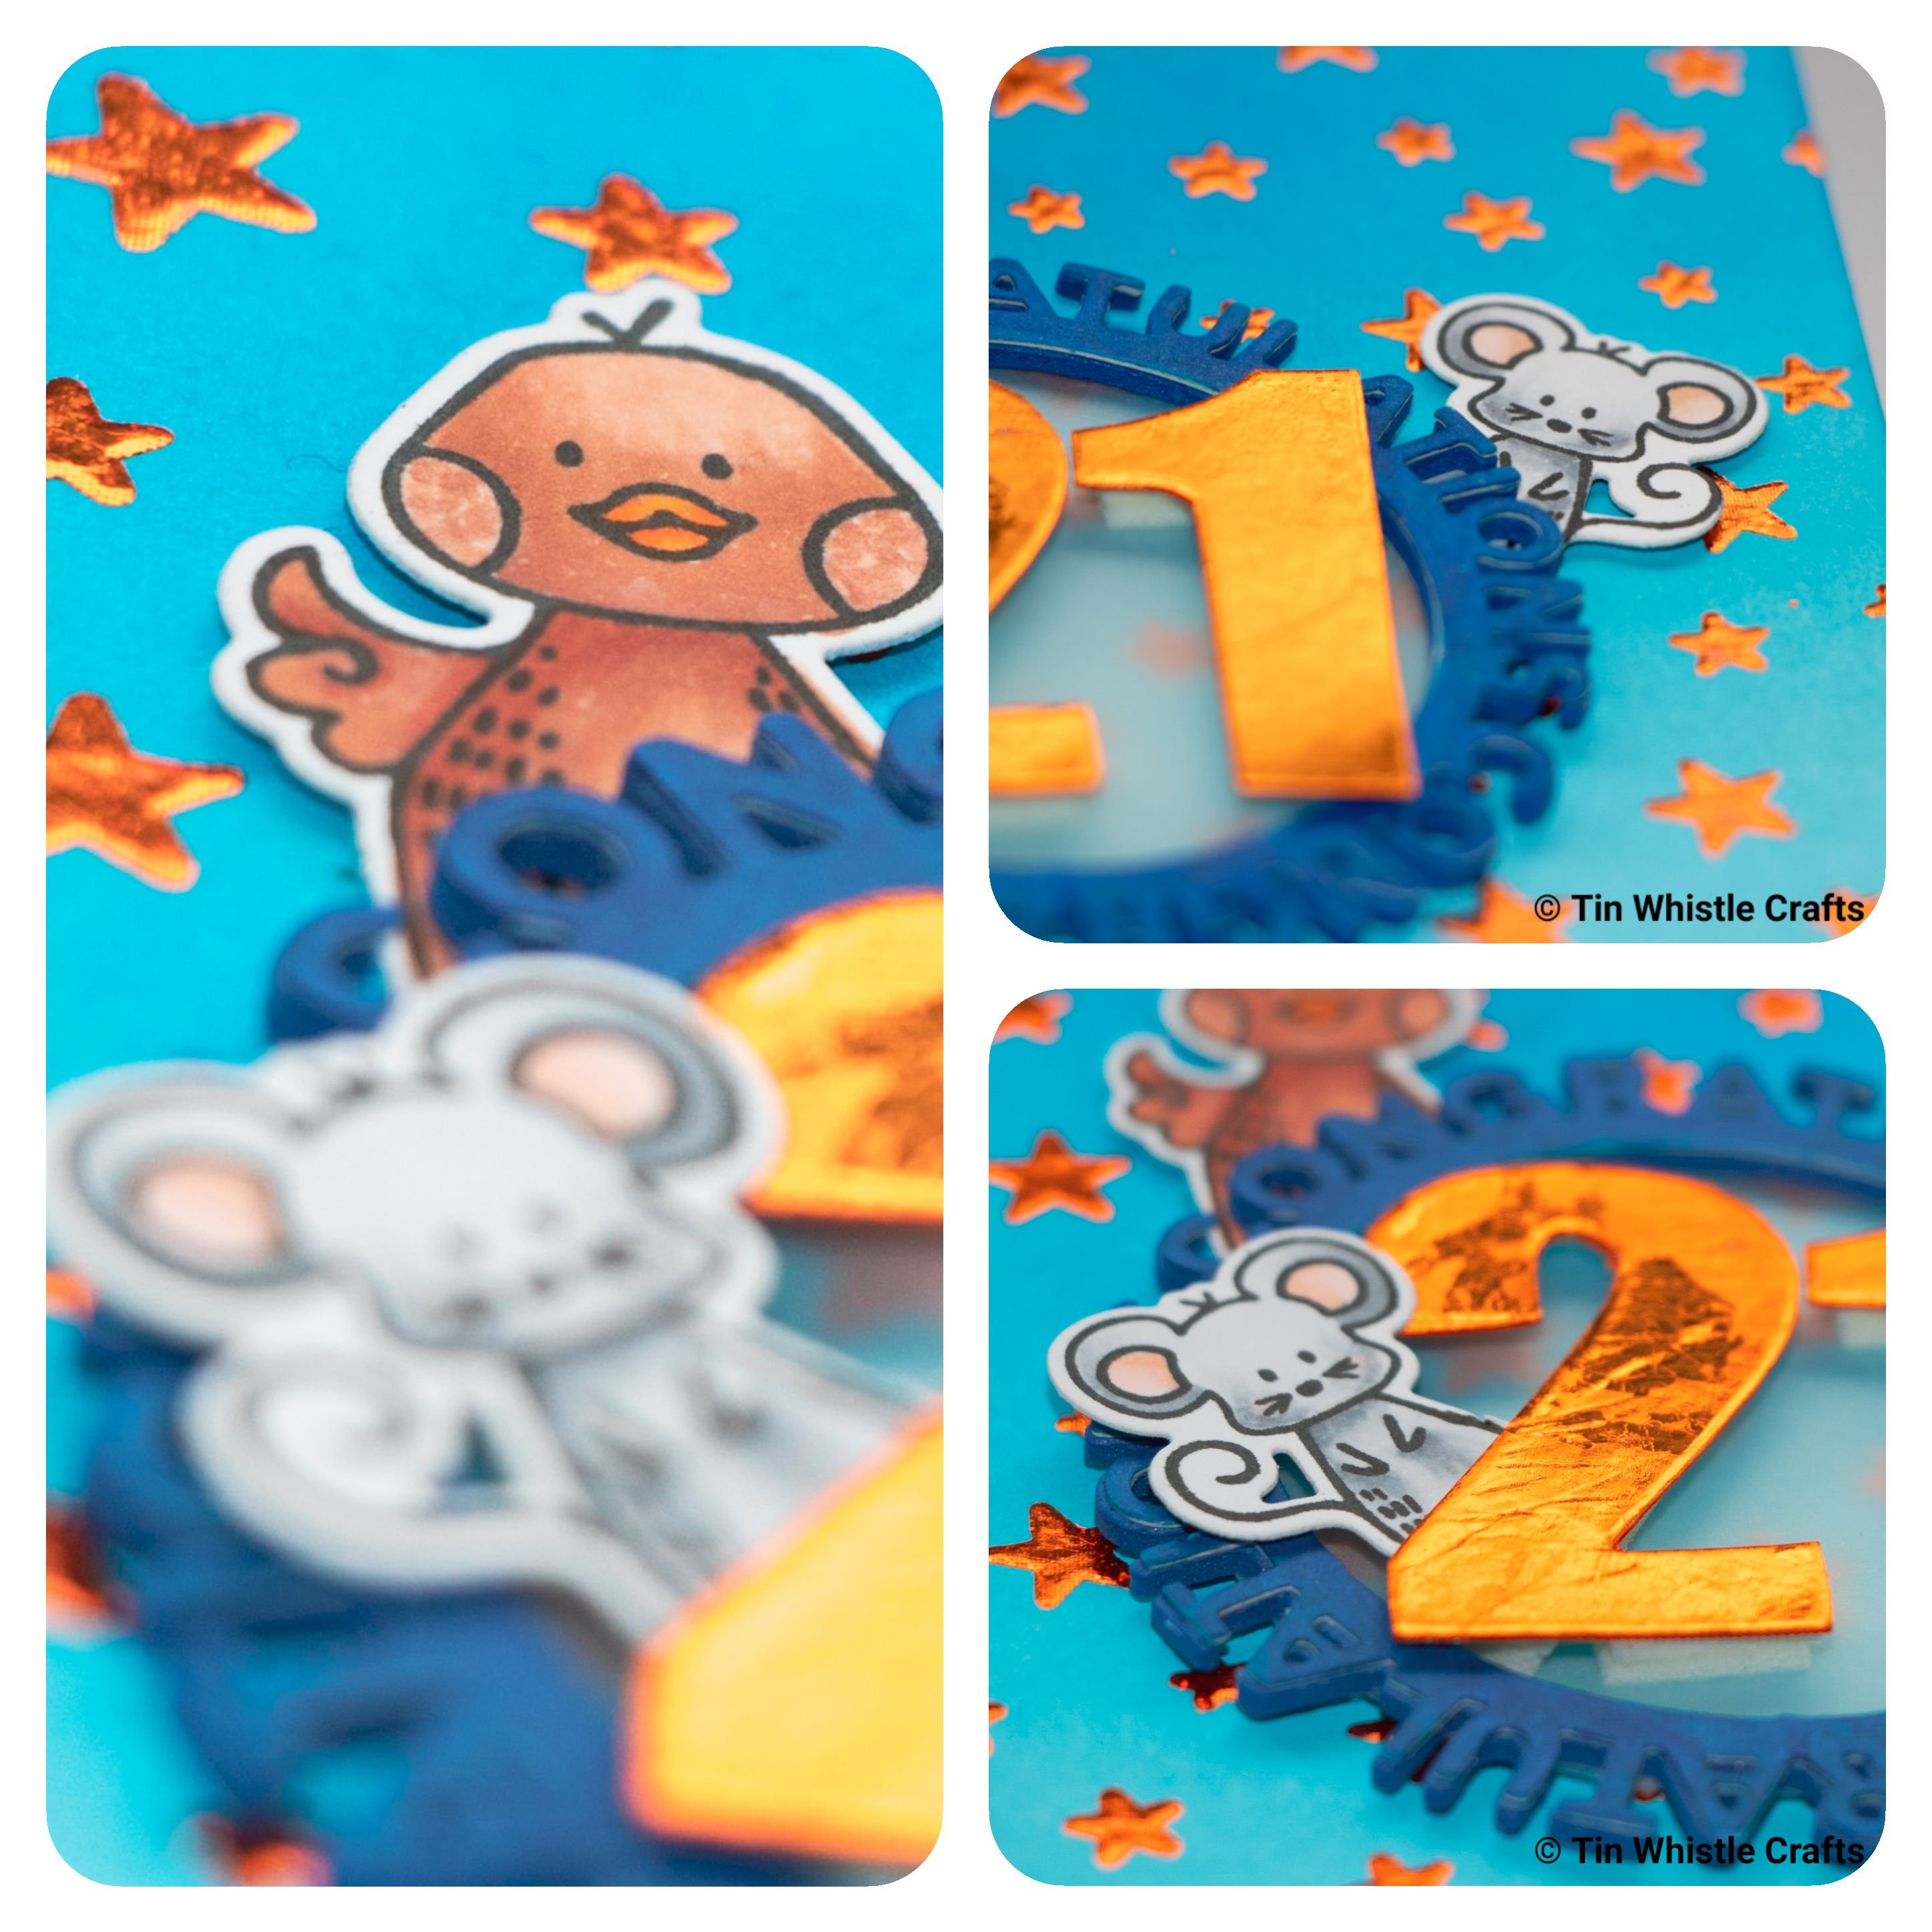
- Adhere the critters when you want them positioned. The two back ones are adhered to the congratulations and the front one is adhered to the number.
- Adhere the numbers with two layers of foam tape to give them dimension and make them slightly higher than the die cut words.
- Finally adhere the central images to the background and adhere panel to side or top folded cardstock.
Thanks for stopping by and have a good day.
Handmade by Pip
Supplies List
Affiliate links are used when purchasing from Krafters Cart. Other links are direct to the company that sells that product.
 Waffle Flower Little Painters Shop at: Krafters Cart NZ |
 MFT Star Celebration Stencil Shop at: SSS |
 Altenew Bold Numerals Die Shop at: Krafters Cart NZ |
 MFT Congratulations Shop at: Krafters Cart NZ |
 Gina K Design Heat Reactive Foil Shop at: SSS |
 Distress Oxide Salty Ocean Shop at: Krafters Cart NZ |
 Distress Oxide Mermaid Lagoon Shop at: Krafters Cart NZ |
 Distress Oxide Tumbled Glass Shop at: Krafters Cart NZ |
 Tools Mini Misti Shop at: Krafters Cart NZ |
 Momento Tuxedo Black Shop at: Krafters Cart NZ |